Custom domain configuration
By default, your products are assigned to the .earlybird.rocks subdomain you chose while onboarding. However, you can add a custom domain name to your website. We highly recommend using Cloudflare as your DNS provider for added security and flexibility. The following instructions will guide you through adding a custom domain to your landing page.
Adding a Domain
If you do not currently possess a domain, you can purchase one at domain registrar companies such as GoDaddy, Google Domains, and Namecheap. After purchasing a domain, proceed with the following steps:
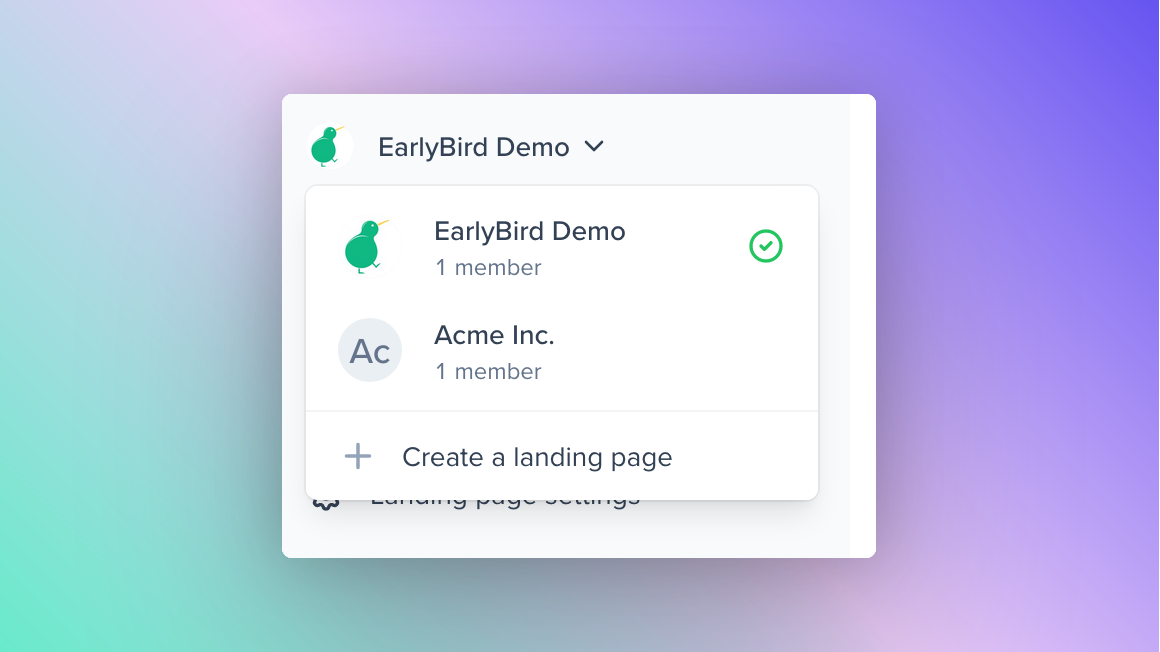
Step 1: Select your product
On the dashboard, select the product to which you want to assign your domain.
Step 2: Go to the Landing page settings
Once you have selected the product, go to the Landing page settings from the sidebar.
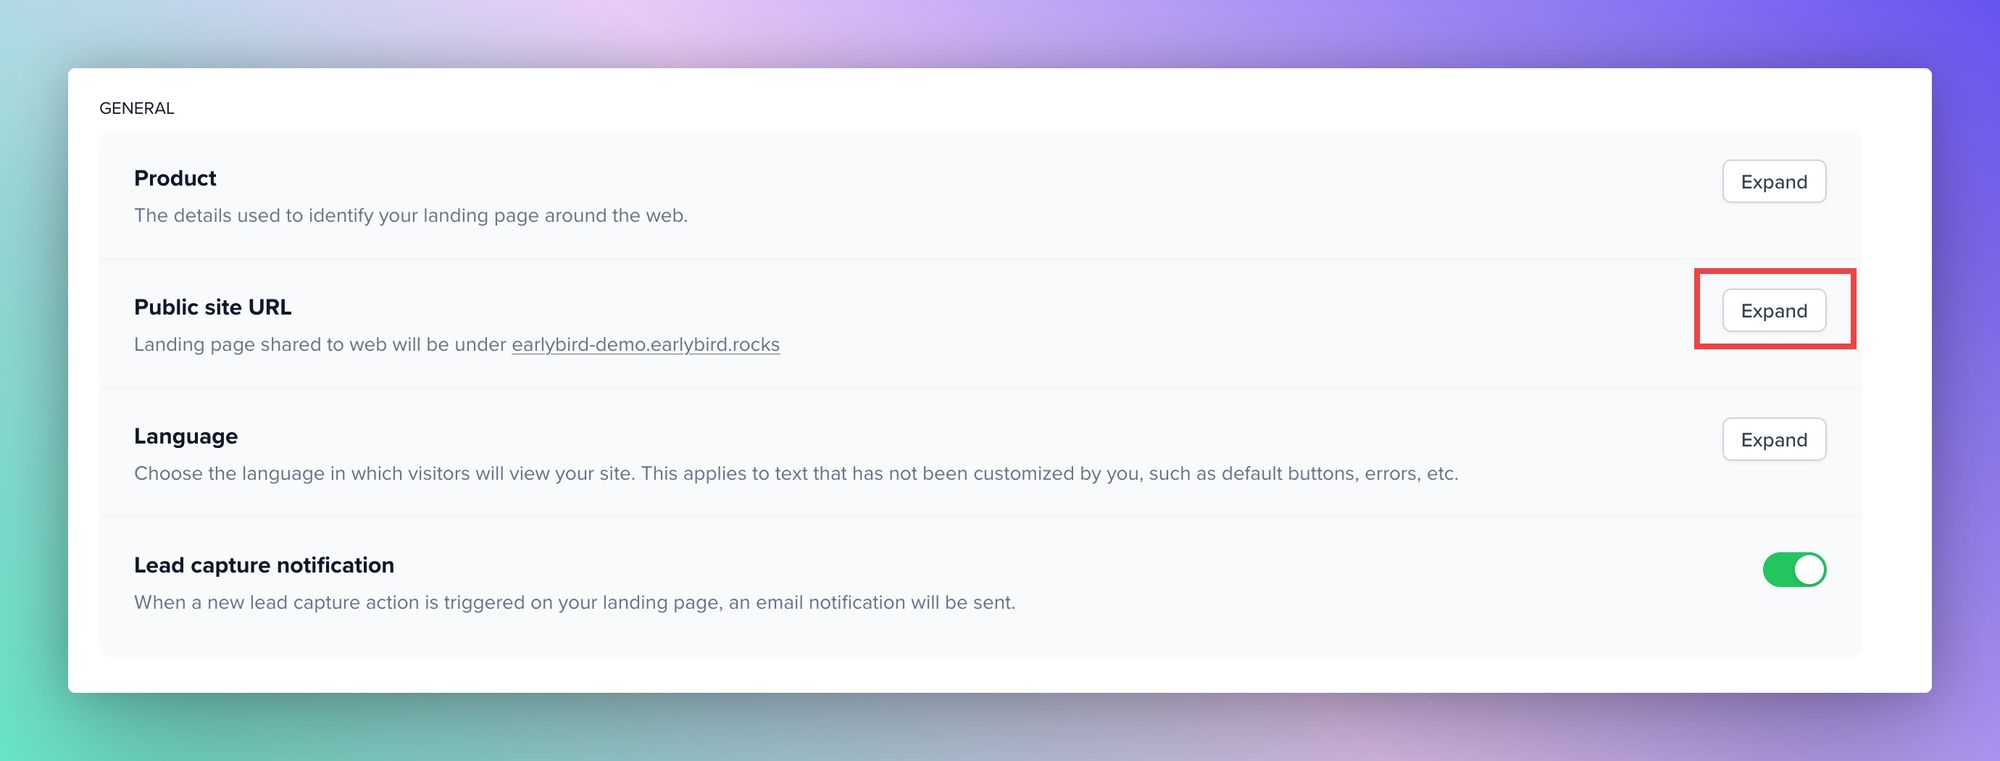
Then go to the Public site URL tab and click on Expand to reveal the Custom URL field.
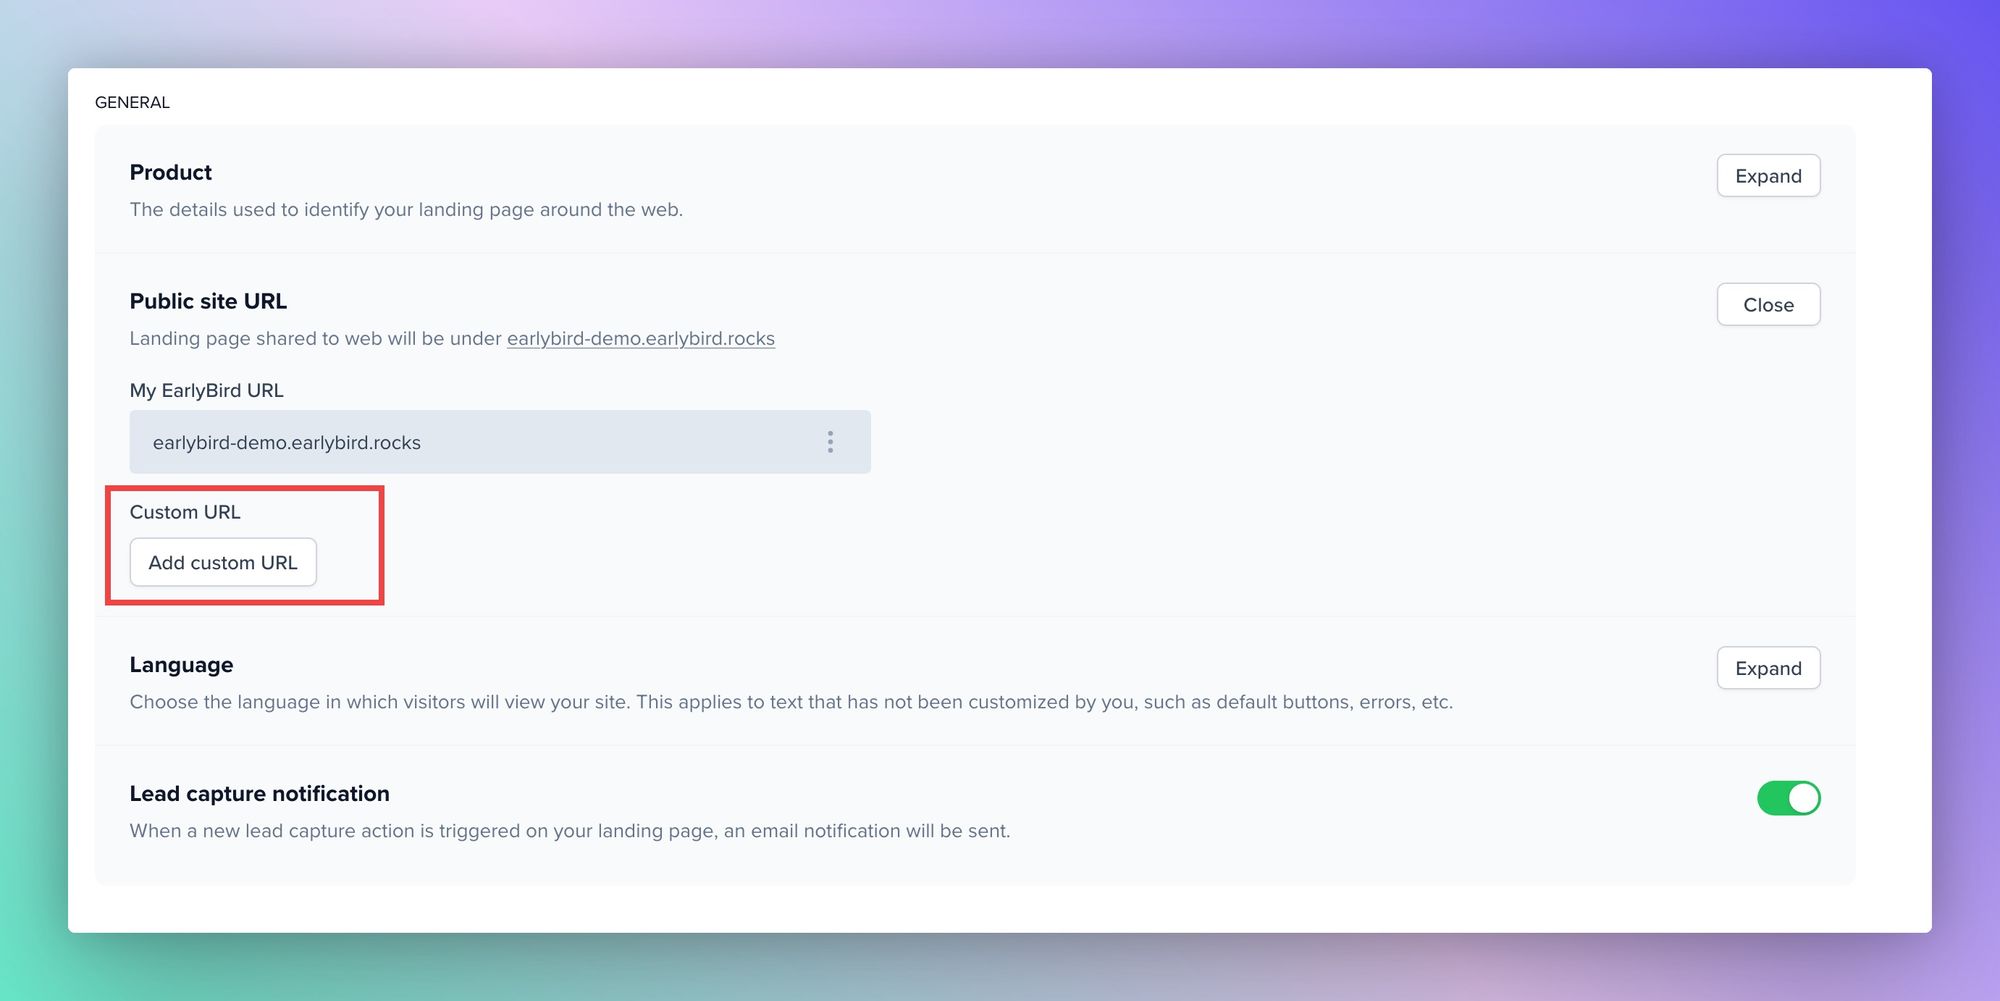
Step 3: Add a Custom Domain
Click on Add Custom URL to reveal the input fields and instructions from EarlyBird.
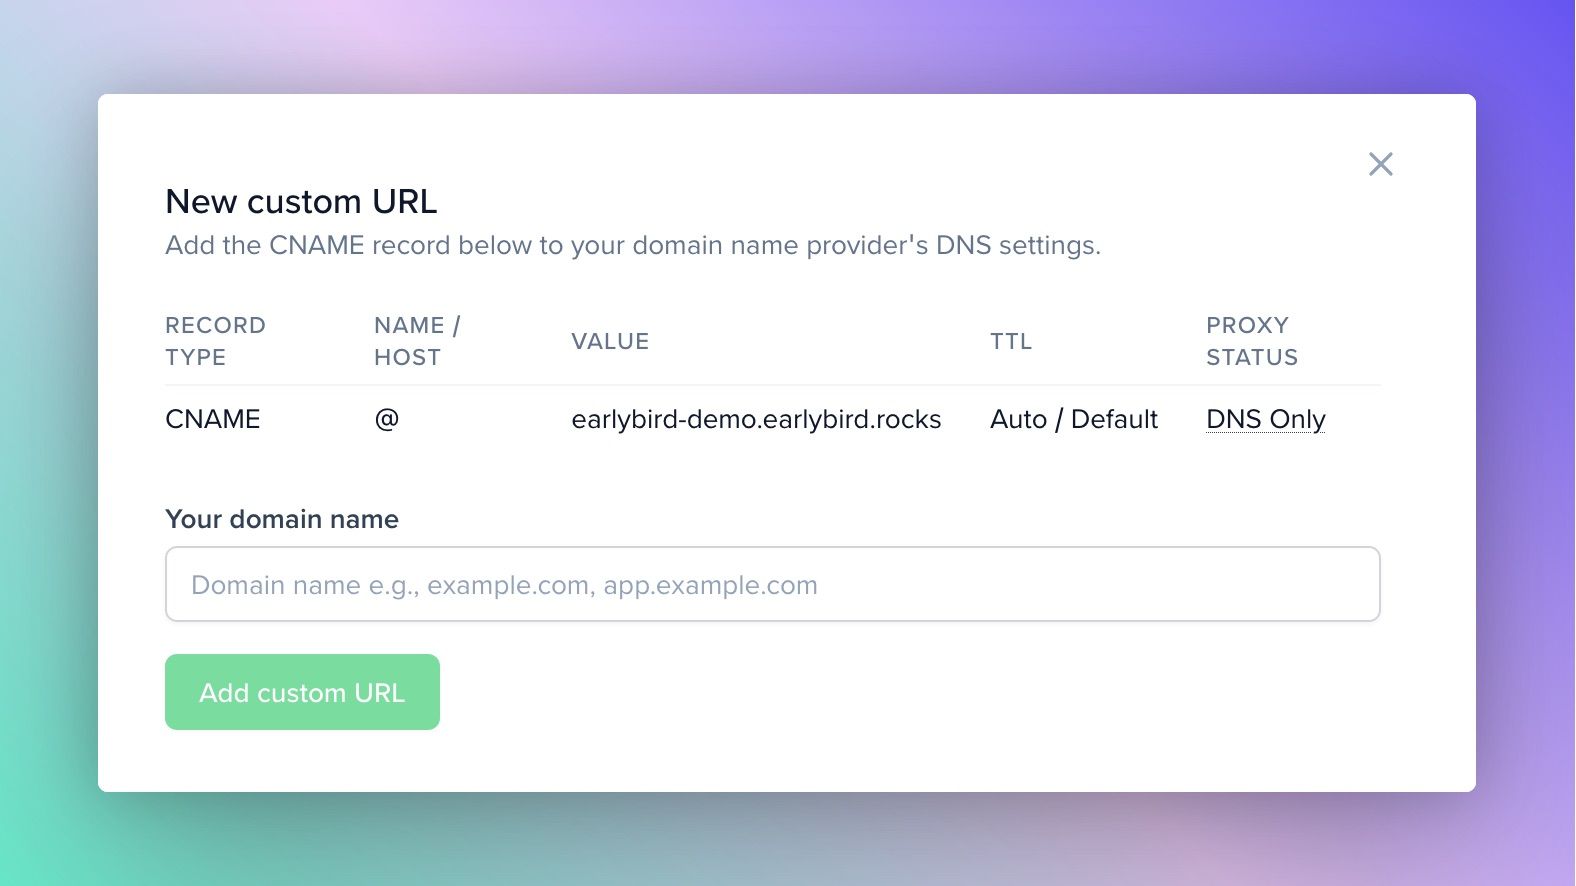
Step 4: Configuring the Domain
You'll see an instruction on how to add the domain. Refer to the instructions and add a CNAME record to the www subdomain or your root domain, depending on your preference.
First, make sure you have the CNAME record value provided by EarlyBird. This will typically be in the form of "yourdomain.com" pointing to "<name>.earlybird.rocks."
Next, depending on the registrar you purchased your domain or your DNS provider, follow their corresponding guide to add a CNAME.
In most cases, it should be something like this:
- Log in to the account where you registered your domain name. This is usually with a domain name provider such as GoDaddy, Namecheap, or Network Solutions. In some cases, it should be done within your DNS manager, like Cloudflare.
- Once you are logged in, find the area where you can manage your DNS settings. This is usually in a section called "DNS Management," "Name Server Management," or something similar.
- In the DNS settings, you will need to add a new CNAME record. This is typically done by clicking on a button labeled "Add CNAME," "Add Record," or something similar.
When adding the CNAME record, you will need to enter the following information:
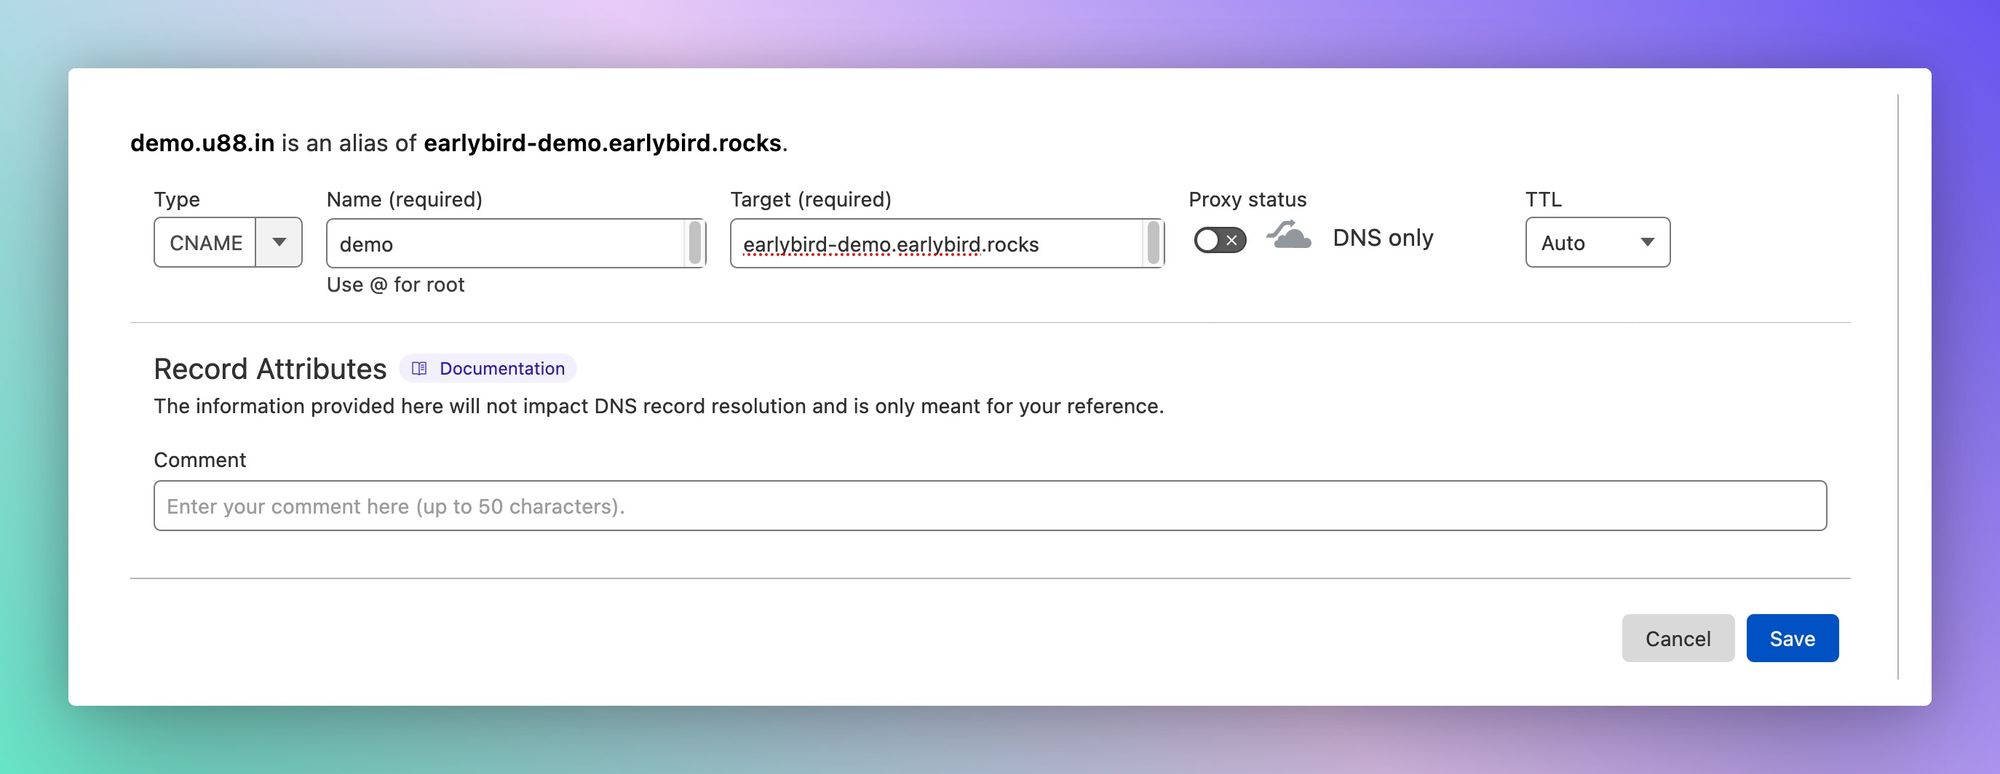
Host: @ or www (or the subdomain you want to use for your site) Points to: <name>.earlybird.rocks TTL: This stands for Time to Live and determines how long the record should be cached by DNS servers. You can usually leave this at the default value.
Note: if you’re using Cloudflare, please disable proxy feature (make sure the orange cloud is greyed out). - Save the CNAME record and wait for it to propagate. This can take anywhere from a few minutes to a few hours, depending on your DNS provider and the TTL you set.
- Once the CNAME record has propagated, your custom domain should be pointed to EarlyBird. You can test this by visiting "yourdomain.com" in your web browser.
Follow this guide if your registrar doesn’t support CNAME flattening:
Registrars like Godaddy and Google Domains don't support CNAME flattening. Meaning you won't be able to point your root domain to a CNAME record. In such an event, we recommend you consider Cloudflare DNS manager and refer to the instructions above or use an A record. To add an A record to point your root domain (example.com) to EarlyBird, follow these steps:
- First, make sure you have the IP address provided by EarlyBird. This will typically be in the form of an IPv4 address, such as "65.108.150.94"
- Next, log in to the account where you registered your domain name. This is usually with a domain name provider such as GoDaddy, Namecheap, or Network Solutions.
- Once you are logged in, find the area where you can manage your DNS settings. This is usually in a section called "DNS Management," "Name Server Management," or something similar.
- In the DNS settings, you will need to add a new A record. This is typically done by clicking on a button labeled "Add A Record," "Add Record," or something similar.
When adding the A record, you will need to enter the following information:
Host: @ or yourdomain.com (this represents the root domain)
Points to: the IP address provided by EarlyBird
TTL: This stands for Time to Live and determines how long the record should be cached by DNS servers. You can usually leave this at the default value. - Save the A record and wait for it to propagate. This can take anywhere from a few minutes to a few hours, depending on your DNS provider and the TTL you set.
- Once the A record has propagated, your apex domain should be pointed to EarlyBird. You can test this by visiting "yourdomain.com" (without the "www") in your web browser.
Here’s an example case, where Cloudflare is the DNS manager
Assign Domain to EarlyBird
Once you finish pointing your domain to “<name>.earlybird.rocks,” paste it to the Custom URL field in Landing page settings and Click on Add custom URL
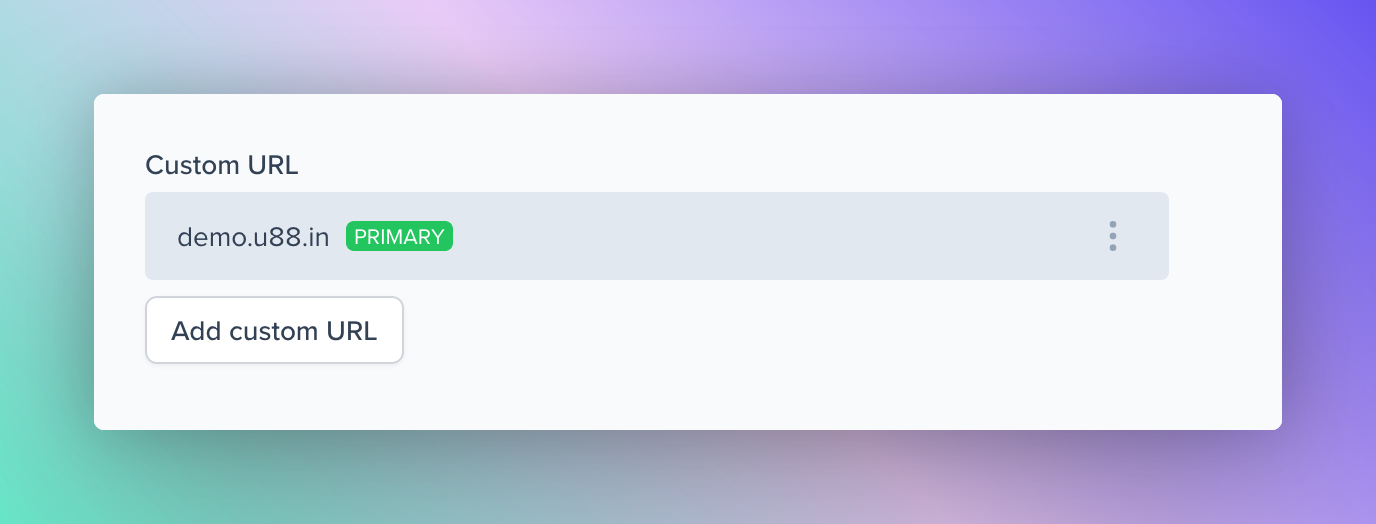
Step 5: Domain Configured
Once the domain is configured, you will see something like this: