Integrate EarlyBird leads capture data with Airtable
Airtable combines the power of a database with the familiarity of a spreadsheet, providing the perfect platform for organizing and managing leads.
In just a few clicks, this step-by-step tutorial will guide you through the process of sending your EarlyBird leads capture data to Airtable, creating an efficient and streamlined workflow that keeps your team focused on idea validation.
1. Connect to Airtable
To integrate Earlybird with Airtable, you'll need to create a Zapier account. If you haven't already, sign up for free at zapier.com. Zapier is an automation tool that connects various apps and services, enabling you to establish smooth workflows.
Once you're logged in, locate the "Make a Zap" option at the top of the page. You will then be prompted to choose a trigger app, which is responsible for initiating the workflow. In this instance, search for "EarlyBird" and select it as your trigger app. Following that, look up "Airtable" and designate it as your destination app.
Choose "New Lead" as the trigger event. This means that the workflow will be initiated each time a new lead is captured by your EarlyBird landing page.
To automate the process of capturing new leads from your EarlyBird landing page and adding them to the Airtable base, select "Find or Create Record" as the trigger action for your workflow. This ensures that all newly captured leads are seamlessly pushed to the designated Airtable base.
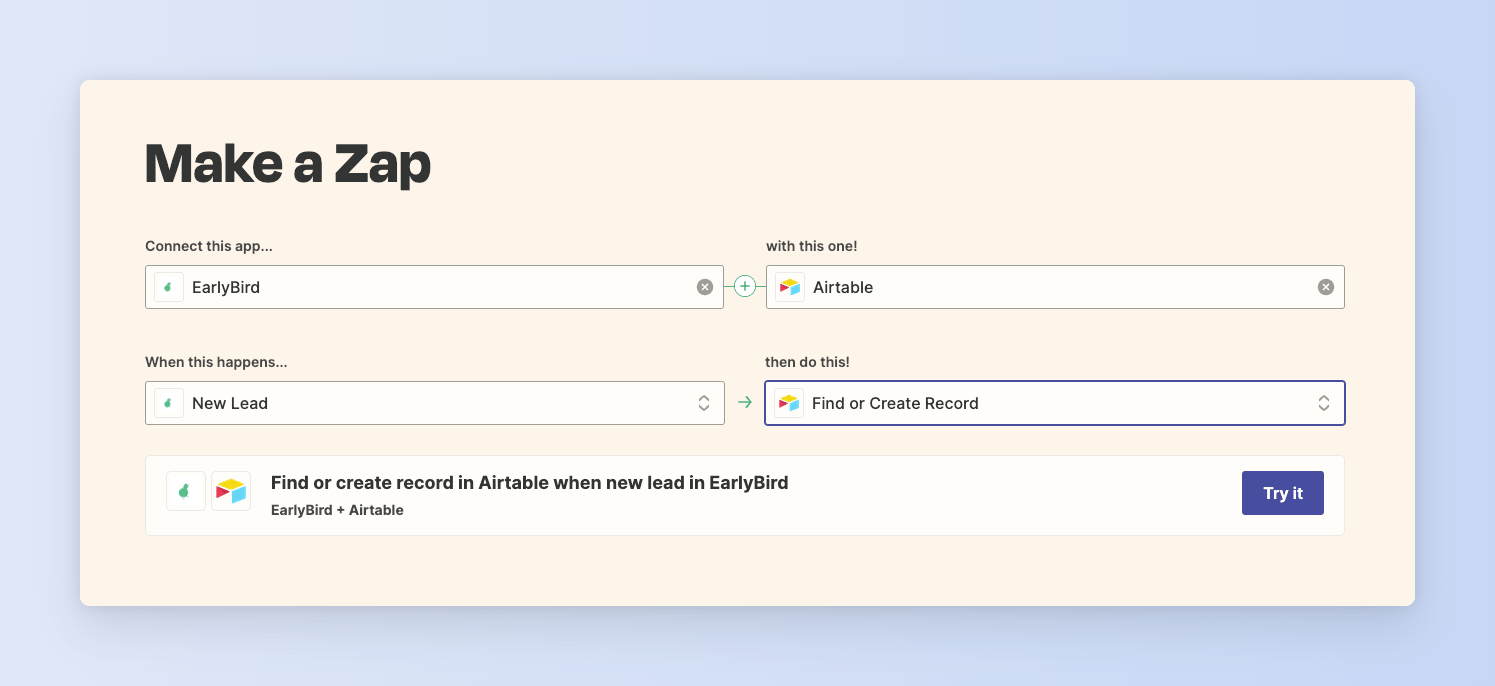
Click the "Try it" button to be redirected to the next page.
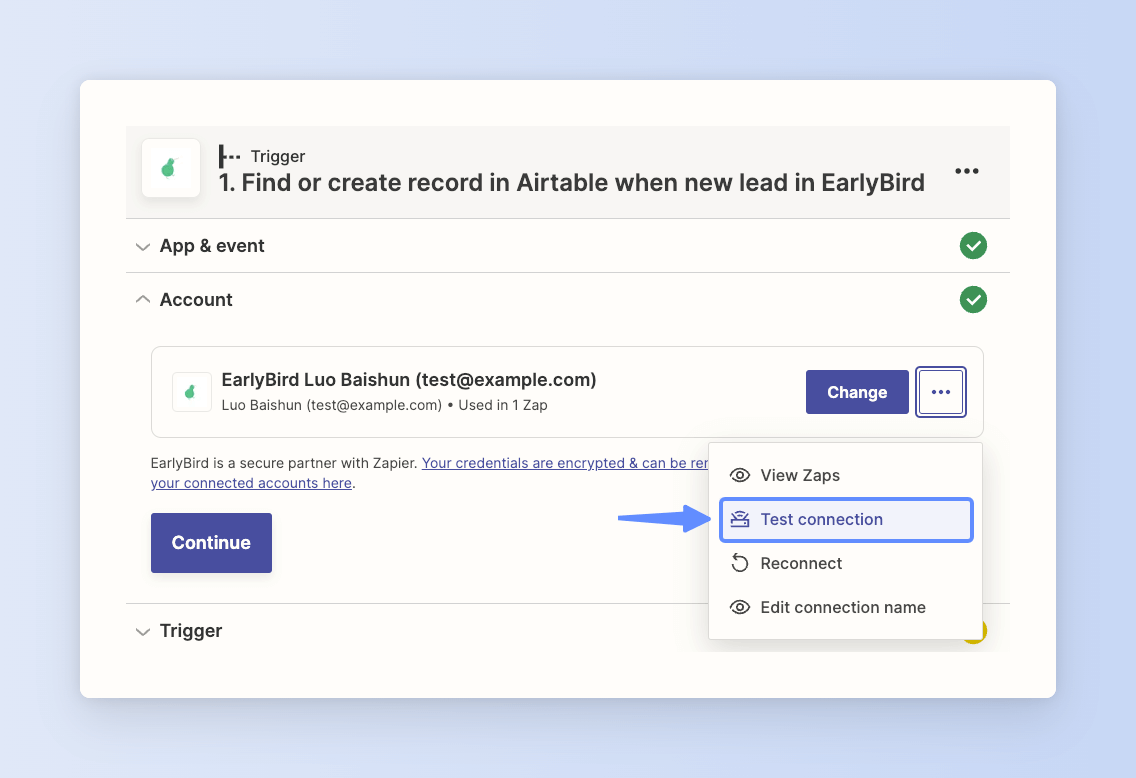
On the new page, test the connection to ensure that you receive a notification stating "Test successful! Your auth is working correctly."
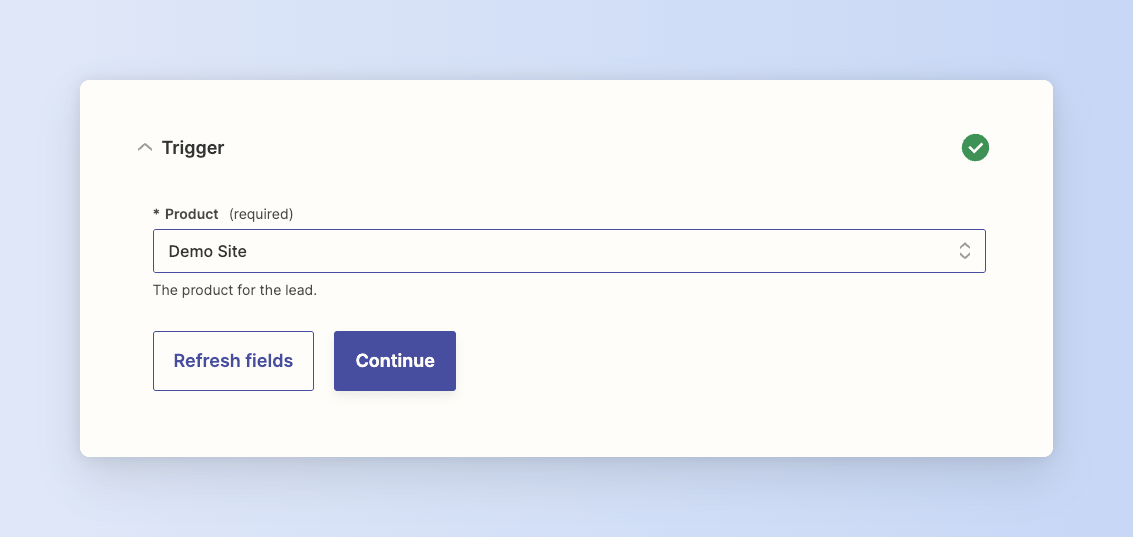
Click on the "Continue" button and enter the Trigger setup. From there, select the desired landing page from the dropdown list. Once you've completed these steps, you'll have successfully connected to Zapier.
2. Select your base and table
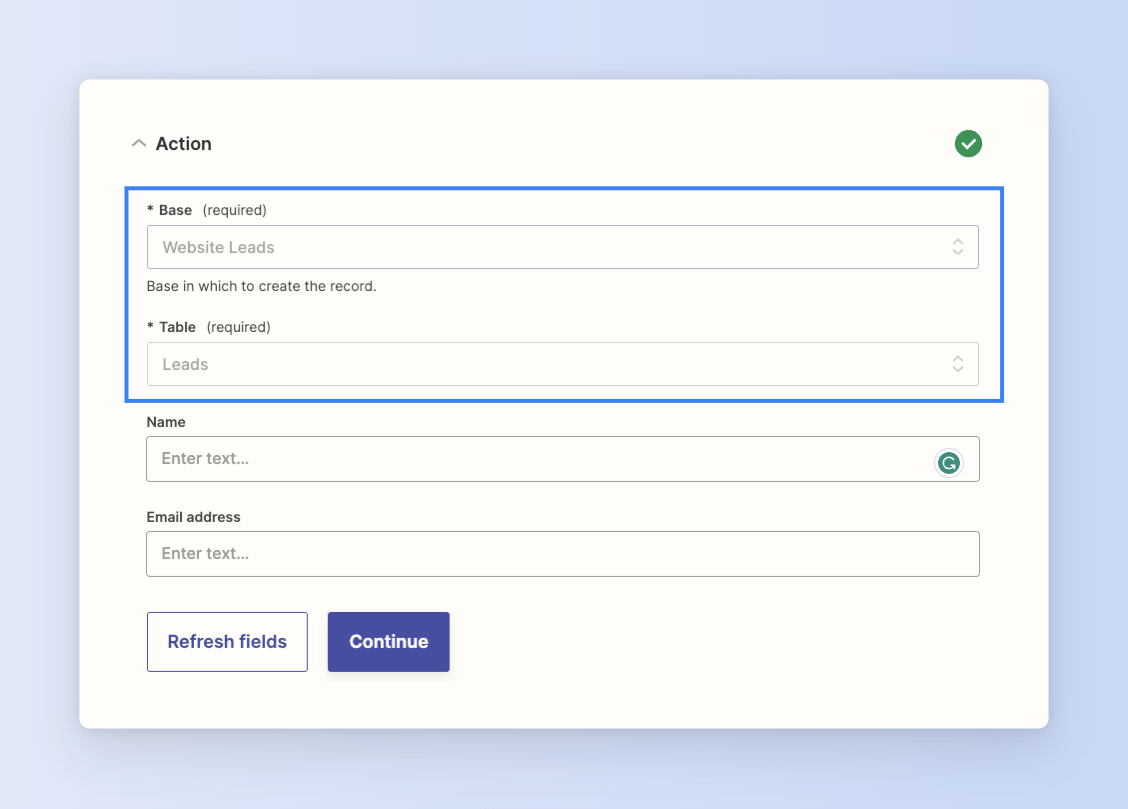
Next, select your Airtable base and table from the dropdowns.
3. Map your fields
Map your lead capture data to your Airtable fields.
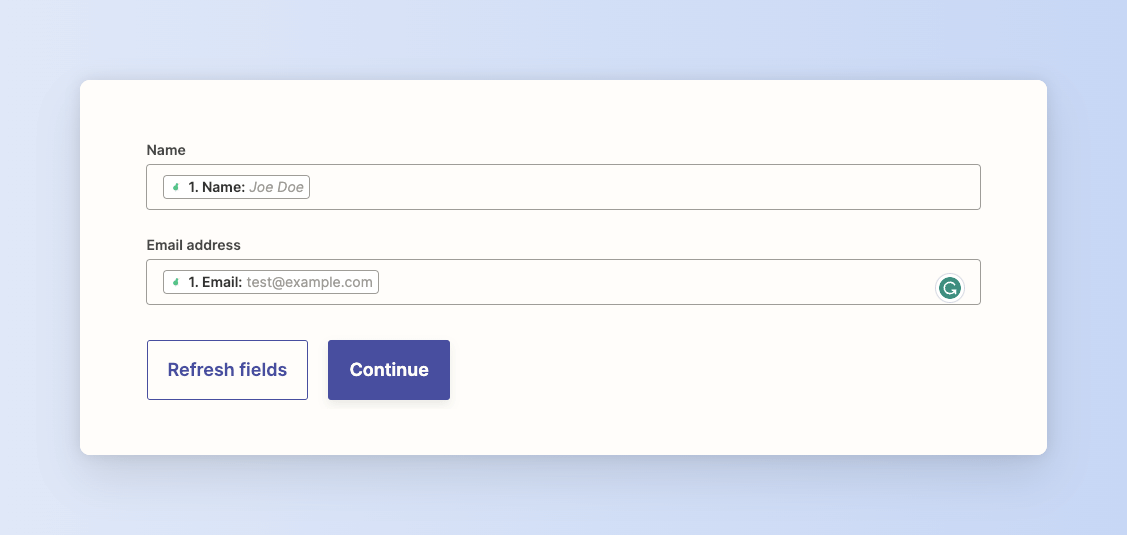
In our case, it's the lead name and email address.
4. Test the integration and publish it
Now let's test the integration we have just configured.
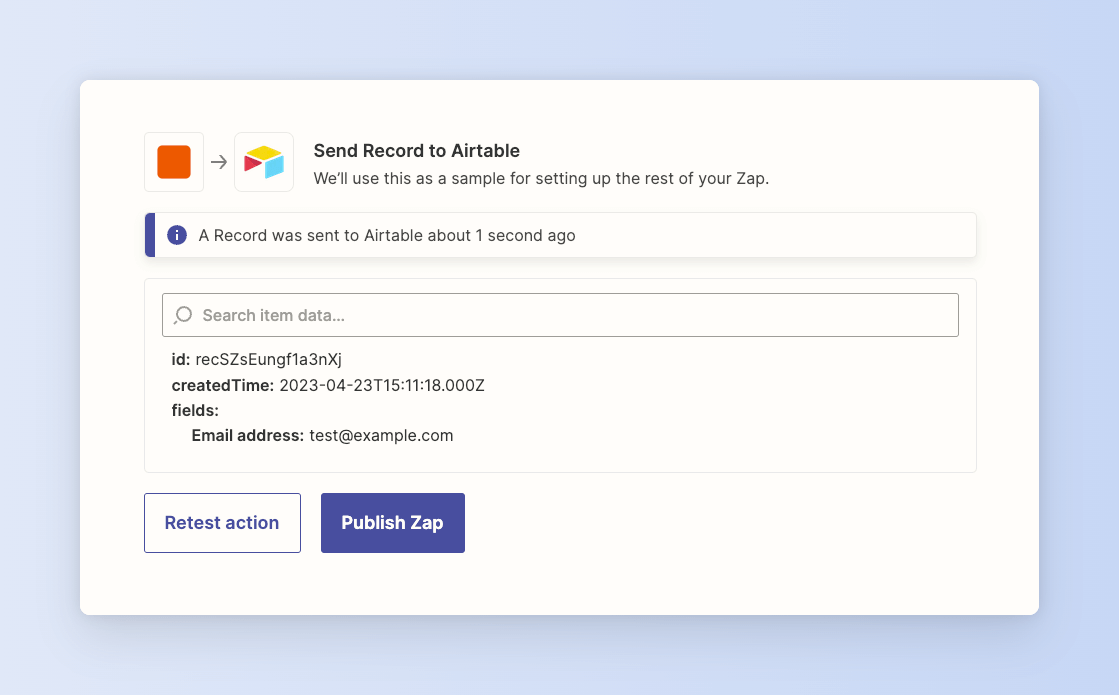
Check if a new record has been added to your Airtable base, if it does, you are all set!
Hit "Publish Zap", and you're good to go!